How Long Does Moss Take to Grow by Setting
How long does moss take to grow? Expect 5-8 weeks of terrarium cover, then years for a thick colony. See timelines and what changes the pace.
Three milestones decide the wait: first green, then surface cover, then a durable carpet. Warm, stable terrariums usually reach the early milestones sooner than cool ones, while a thick colony still needs much longer. Early colour is survival; depth and attachment come later.
So, how long does moss take to grow? Match the clock to the goal: a greener jar, fewer bare gaps, or a cushion with real depth. Dense fragments on a climate-matched surface often outperform a sparse layer kept wetter.
Moss Growth Times by Setting and Goal
Moss can cover most of a container's surface faster than many growers expect. In a controlled container study using fertilizer-free organic gardening substrate, mosses achieved more than 60% average surface coverage in approximately 5–8 weeks: cultures at 20–25 °C generally reached maximum coverage in 4–6 weeks, while those at 15 °C usually needed about 8 weeks.
Read those numbers carefully. The warm treatment's maximum-coverage timetable measures a different finish line than the study's overall average, and neither one records when the moss became a thick cushion. Early greening is best read as survival: the fragments have taken hold and spread a green film, while a durable carpet is a later milestone.
Measured times a home grower can use
Every row below comes from that same study's measured container results, with no modeled projections or wild-ground estimates mixed in, so the figures transfer reasonably well to a planted jar or terrarium.
| Setting or goal | Milestone | Typical time |
|---|---|---|
| Planted container, averaged across temperatures | More than 60% surface coverage | About 5–8 weeks |
| Warm terrarium, 20–25 °C | Maximum surface coverage | 4–6 weeks |
| Steady 20 °C with 12-hour light | High surface cover | About 5 weeks |
| Cooler terrarium, about 15 °C | Maximum surface cover | About 8 weeks |
Same thermometer, different result. Two containers held at identical temperatures can still green at different speeds, because a planting of many small, evenly spread fragments gives the colony more growing fronts than one sparse clump, and a species suited to your light and moisture regime spends less time stalled. Speed of coverage also says nothing about depth: a surface can look fully green while the cushion beneath it is still thin.
Choose the milestone before the deadline
Wild timetables run on a different scale. Bare, undisturbed ground outdoors can sit for years before moss even appears, so a colonization clock measured on raw soil is a poor yardstick for a newly planted container that already holds living material, prepared substrate, and managed moisture.
Species choice belongs in the planning stage too. Check a guide to choosing moss for a closed terrarium before deciding which growth rate is realistic for your setup.
Planning rule: Match the timetable to the task. Greening a jar, thickening a patch, and waiting for a wild colony are different projects.
Coverage Versus a Thick Moss Colony
Say you plant a shallow tray and notice a delicate green haze across the bare substrate. It's tempting to call the tray finished, especially when it looks lush through damp glass. But that first green is more like a carpet's thin weave than its finished pile.
Moss can develop fine, branching filaments called protonema before it produces the commonly recognized leafy shoots. Those filaments help explain how a surface can change color before it looks three-dimensional.
What grows before the cushion
In laboratory cultures of Physcomitrium patens, a Plant Physiology article on moss development reports chloronemal filament elongation of approximately 7.21 ± 1.72 micrometers per hour and caulonemal elongation of 16.07 ± 4.85 micrometers per hour. The same article describes differentiation toward leafy gametophores after roughly 10–11 days under optimized conditions.
That microscopic activity is genuine growth. It just isn't equivalent to a visible cushion thickening at the same apparent speed.
The progression is easier to understand when you separate the underlying weave from the later leafy structure.
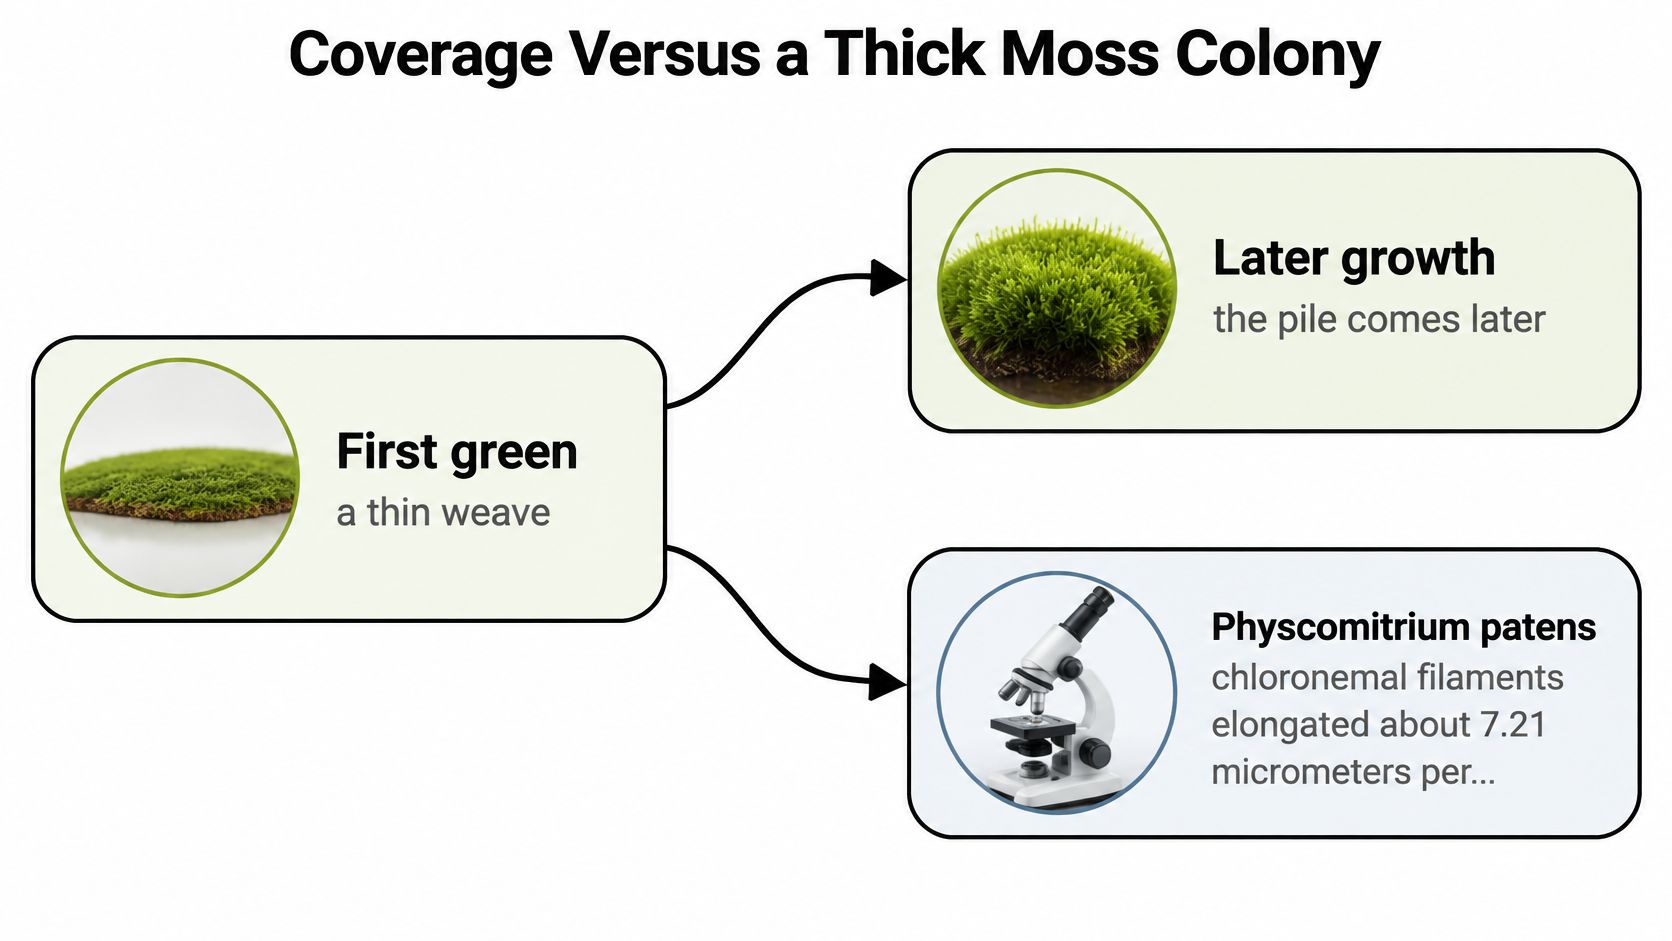
Species also differ in how readily they move into leafy growth. Some produce buds readily under cultivation, while others take much longer. A fast-developing laboratory moss therefore isn't a reliable stand-in for every cushion moss sold for decorative planting.
Check structure, not just color
For the tray in our example, use several observations together:
- Continuous coverage: Look for living material connecting previously separate patches, rather than scattered green islands.
- Recognizable shoots: Check whether leafy growth is becoming visible above the fine surface layer.
- Attachment: At an edge, touch lightly with a blunt planting tool. Don't pull upward to test strength.
- Increasing density: Compare the same spot under similar lighting, rather than judging through differently fogged glass.
A green film alone doesn't establish that you have a mature moss carpet. If you can't identify leafy growth, treat the color as a reason to look more closely, not proof that the planting is complete.
Keep handling to a minimum while the structure develops. Repeatedly lifting a patch to inspect its underside interrupts the contact you want it to maintain. A developing carpet needs an undisturbed surface as much as an observant grower.
Conditions That Change the Growth Clock
Wetter isn't automatically faster. If moss is already hydrated, adding more water may change the container without fixing the reason growth has stalled. Poor contact, unsuitable starting material, or a mismatch between the moss and its surroundings can remain unresolved beneath a saturated surface.
A useful distinction is recovery versus expansion. An existing clump that regains color after misting has responded to water. New growth requires evidence beyond that color change, such as an advancing edge or additional shoots.
Starting material changes the result
A restoration study examining source climate and establishment treatments found faster increases in moss cover when source climates resembled the planting site and when organic matter was added; in a dry-land jute treatment, warm-dry source moss reached about 51% cover, compared with 43% for cool-moist source moss.
That comparison doesn't establish a universal recipe for closed jars. It does show why the origin of the planting material deserves attention alongside the watering routine.
| Starting choice | Best used when | What the evidence or practical distinction means |
|---|---|---|
| Intact clump | You want immediate cover and can maintain firm contact | Existing cover isn't proof of new outward expansion |
| Short fragments at medium density | You want new crust across bare substrate | Fragment size, spacing, and substrate can affect establishment; don't assume larger pieces win |
| Climate-matched fragments plus organic matter | You can select material suited to the destination | Cover increased faster when source climate resembled the planting site |
| Warm-dry source on jute in a dry-land test | Comparing source climates under a dry-land treatment | Warm-dry material achieved greater cover than cool-moist material |
| Heavy watering alone | Moss is already hydrated | Extra water doesn't correct unsuitable material or poor site matching |
Choose clumps, fragments, or slurry deliberately
Use intact clumps when your priority is an immediate planted appearance. Lay them against a compatible surface and press gently enough to establish contact without crushing the shoots.
Use small fragments when your priority is colonizing exposed substrate. Spread them so they contact the surface rather than forming a deep, loose heap. A light slurry is another distribution method, not a guaranteed growth accelerator.
Test a small patch before committing the whole container. Successful attachment in your actual setup is more useful than an impressive starting clump.
The difference between available water and persistent saturation is worth keeping visible as you troubleshoot.
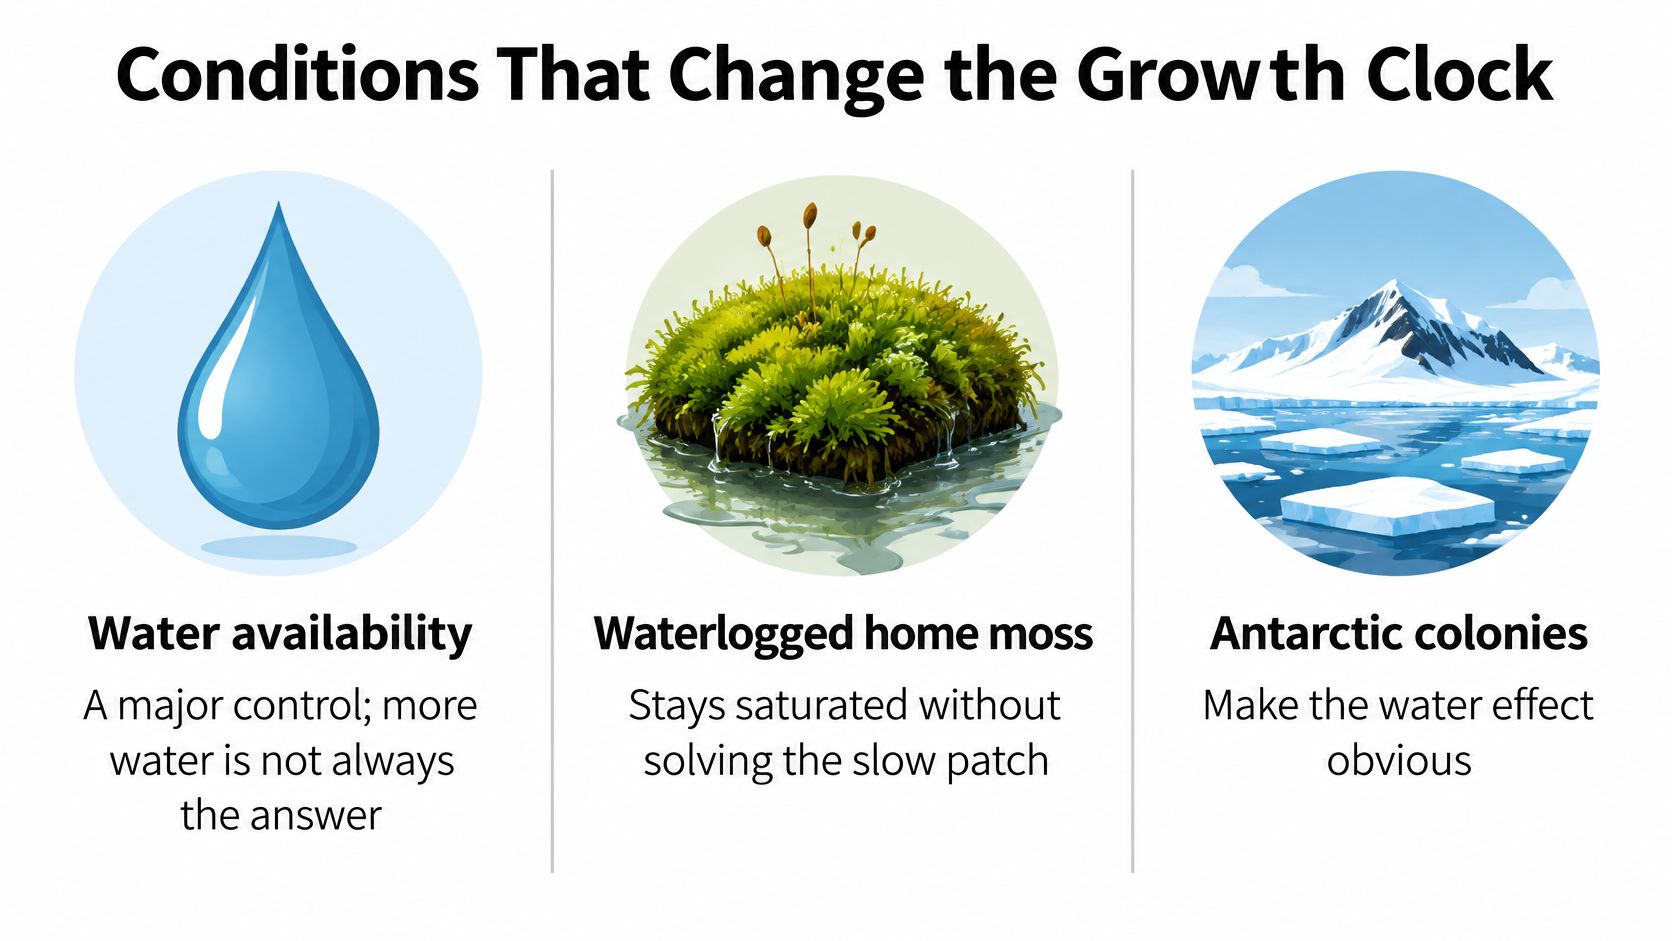
For a broader setup checklist, use this guide to growing moss indoors. Check the species, surface, light, and container together rather than treating the spray bottle as your only adjustment.
How to Encourage Healthy Moss at Home
Build a routine you can repeat without constantly disturbing the planting. The aim is to provide suitable conditions, then make changes only when an observation gives you a reason.
Prepare a fine mister, a clean spoon for firming substrate, blunt tweezers, and a small plant label. These simple tools let you position material and record what you planted without repeatedly handling it.
Prepare the planting
Choose moss for the environment you can provide. Match its expected temperature and humidity to the container. When the source habitat is known, use that information rather than choosing on appearance alone.
Prepare a stable surface. Use a clean, fertilizer-free organic substrate or a suitable rocky surface. Firm loose material with the back of a spoon so the planting won't shift when you mist it.
Choose the starting form. Place clumps where you want immediate patches, or distribute small healthy fragments over an experimental bare area. Don't bury the green tissue beneath fresh substrate.
Moisten without flooding. Mist until the moss is evenly damp, then inspect the base of the container. Stop if water begins pooling around the planting.
The routine should be simple enough that you can maintain it consistently.
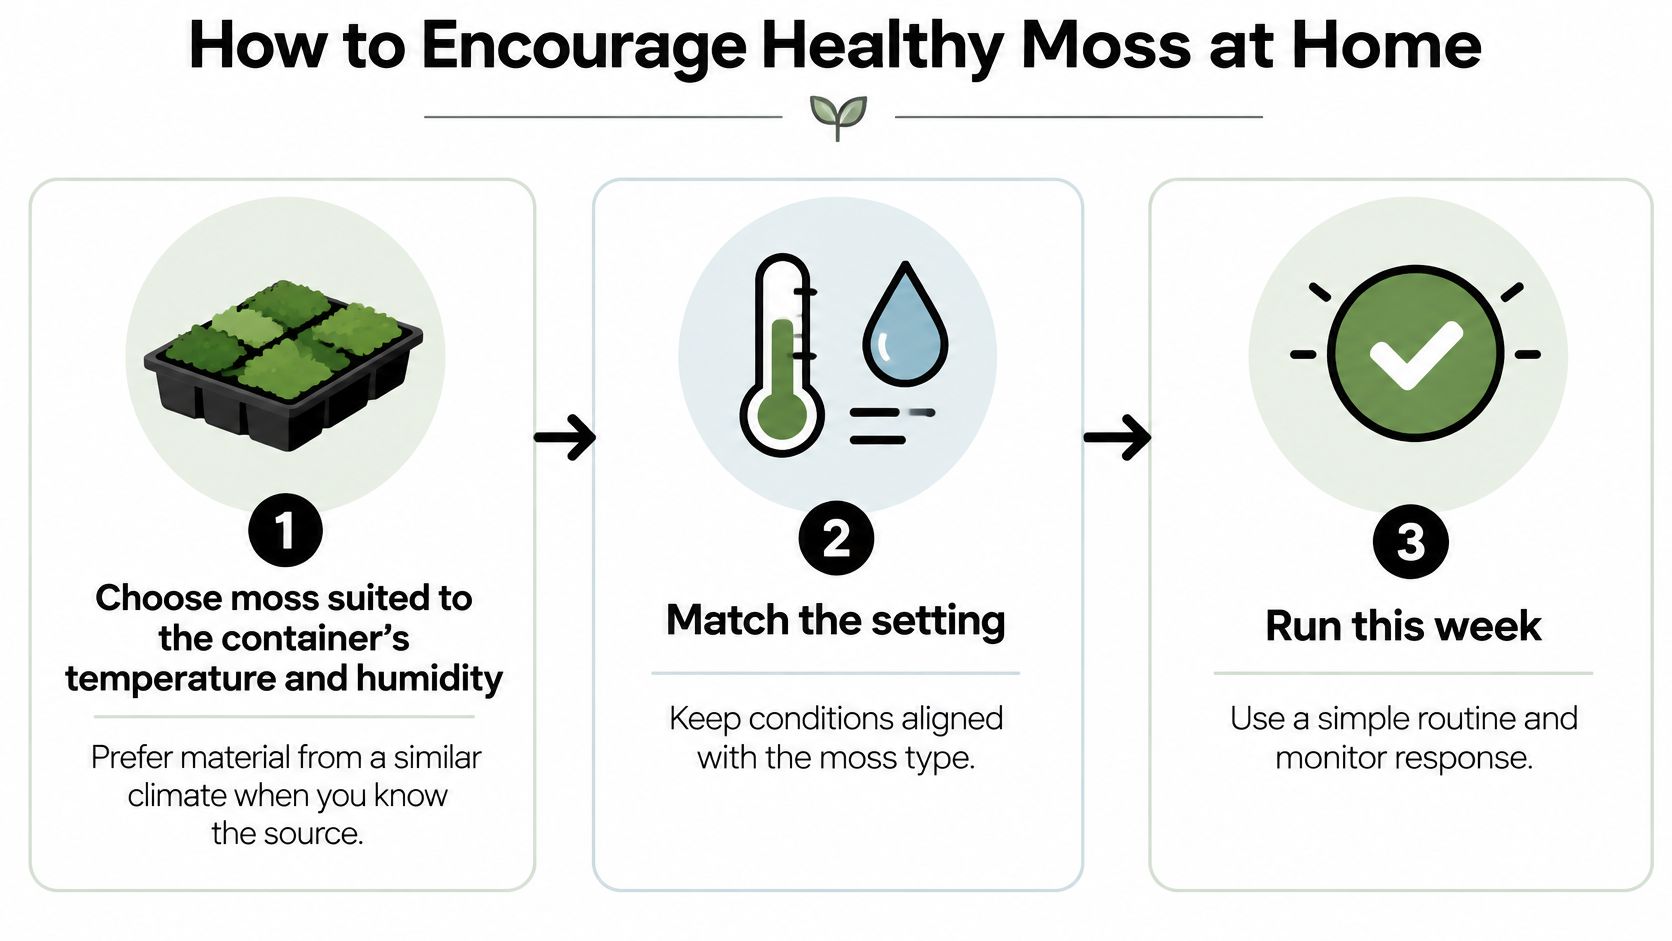
Maintain conditions without chasing growth
Provide diffuse light and suitable warmth. Keep the vessel away from direct sun that can overheat the enclosed space. If you use a lamp, put it on a consistent schedule rather than leaving it on unpredictably.
Inspect before adding water. Look at the moss and substrate, not just condensation on the glass. A misted lid doesn't tell you whether the planting surface needs more moisture.
Leave attached material in place. Don't scrape away an apparently slow patch, tug at it, or add fertilizer to force a response. Check visually unless there's a clear problem requiring intervention.
Repair gaps selectively. If healthy patches are expanding but some substrate remains bare, add a little planting material to those gaps. There's no benefit in dismantling successful growth just to make the container look uniform immediately.
For practical moisture decisions, follow a guide to watering a moss terrarium. Adjust the amount you add to the condition of the planting, not to a rigid habit.
Keep a label or notebook entry identifying the moss, substrate, and starting method. If one patch performs better than another, those details help you repeat the result. Without them, it's easy to credit extra misting when the actual difference was a better surface or more suitable moss.
Real Growth Stories from Studies
A colony can look alive long before it is established. Near Casey Station, the Australian Antarctic study used steel pins set into living moss and followed Bryum pseudotriquetrum and Schistidium antarctici for 20 years, and Ceratodon purpureus for 10 years; it also identified water availability as a major control on elongation. The home reading is plain: a green film can mean survival under tight limits, while a durable carpet means attached shoots are filling space.
A 2025 Atmosphere study of moss on green roofs measured monthly elongation during early establishment, and a 2023 Sustainability study of low-altitude cut-rock slopes tracked biomass over a formation period of 0.5–1.5 years. Those are three different rulers: shoot length, early roof extension, and accumulated material. If your aim is a covered stone, footprint is the score; if your aim is a cushion, density is the score.
Use the studies as calibration for expectations. A jar, roof, polar bed, and cut-rock face differ in fragment size, inoculum density, surface contact, and climate match. Those factors can outweigh keeping moss wetter, because a hydrated fragment with poor contact still has little surface from which to expand.
Judge progress like a surveyor, not like a spectator watching a race. Look for spreading edges, firmer attachment, and new shoots between old ones. That is the difference between color returning and a colony becoming carpet.
Measure the change you want: more covered surface, fuller structure, or material that persists where it is planted.
Myths That Throw Off the Wait
A normal developing patch can look disappointing when you expect a finished carpet immediately. Assumptions about what moss should do push growers to disturb patches that needed steadier care, or to keep waiting on a setup that needs changing.
Mistaking activity for completion
- If it isn't thick quickly, it has failed. Fine growth and leafy structure don't develop as a single event. Look for a direction of improvement rather than demanding a finished cushion at the first inspection.
- Height is the best score. A low-growing patch can become more useful and attractive by occupying gaps. Choose a measurement that reflects the moss's form.
- Brown means dead. Many mosses ride out dry spells in a dormant state and return to color once moisture arrives. A patch that re-greens after a dry week has survived, the way a dormant plant survives winter. Whether it is anchoring and spreading is a separate question, one the following weeks will answer.
Mistaking intervention for improvement
- A bigger piece must spread faster. A large clump supplies an immediate visual effect, but it works like a single seed in a wide tray: impressive where it sits, slow to reach the corners. The same amount of moss divided into small fragments spaced across the surface shortens the distance every new shoot must bridge.
- Purchased moss should keep its previous pace. Your container may differ from its growing environment in light, moisture, temperature, and surface. Judge it by how it responds where you've planted it. The fullness it arrived with reflected its old conditions.
- Steady care makes up for a poor match. A moss suited to different light, temperature, or moisture conditions will keep struggling no matter how consistent your routine. The species match sets the ceiling. Care decides how close to it the moss grows.
Each of these myths trades an easy-to-read signal for the slower process beneath it. Color, size, and how a patch looked on arrival are all visible at a glance. Attachment, spread, and adjustment to a new site are what the wait measures, and they only show themselves over time.
Decide Whether to Wait or Adjust
Make the decision from the planting's condition, not impatience. Compare the present patch with its starting appearance and look for a change in footprint, structure, or attachment.
Use a simple record to separate a slow success from a stalled planting.
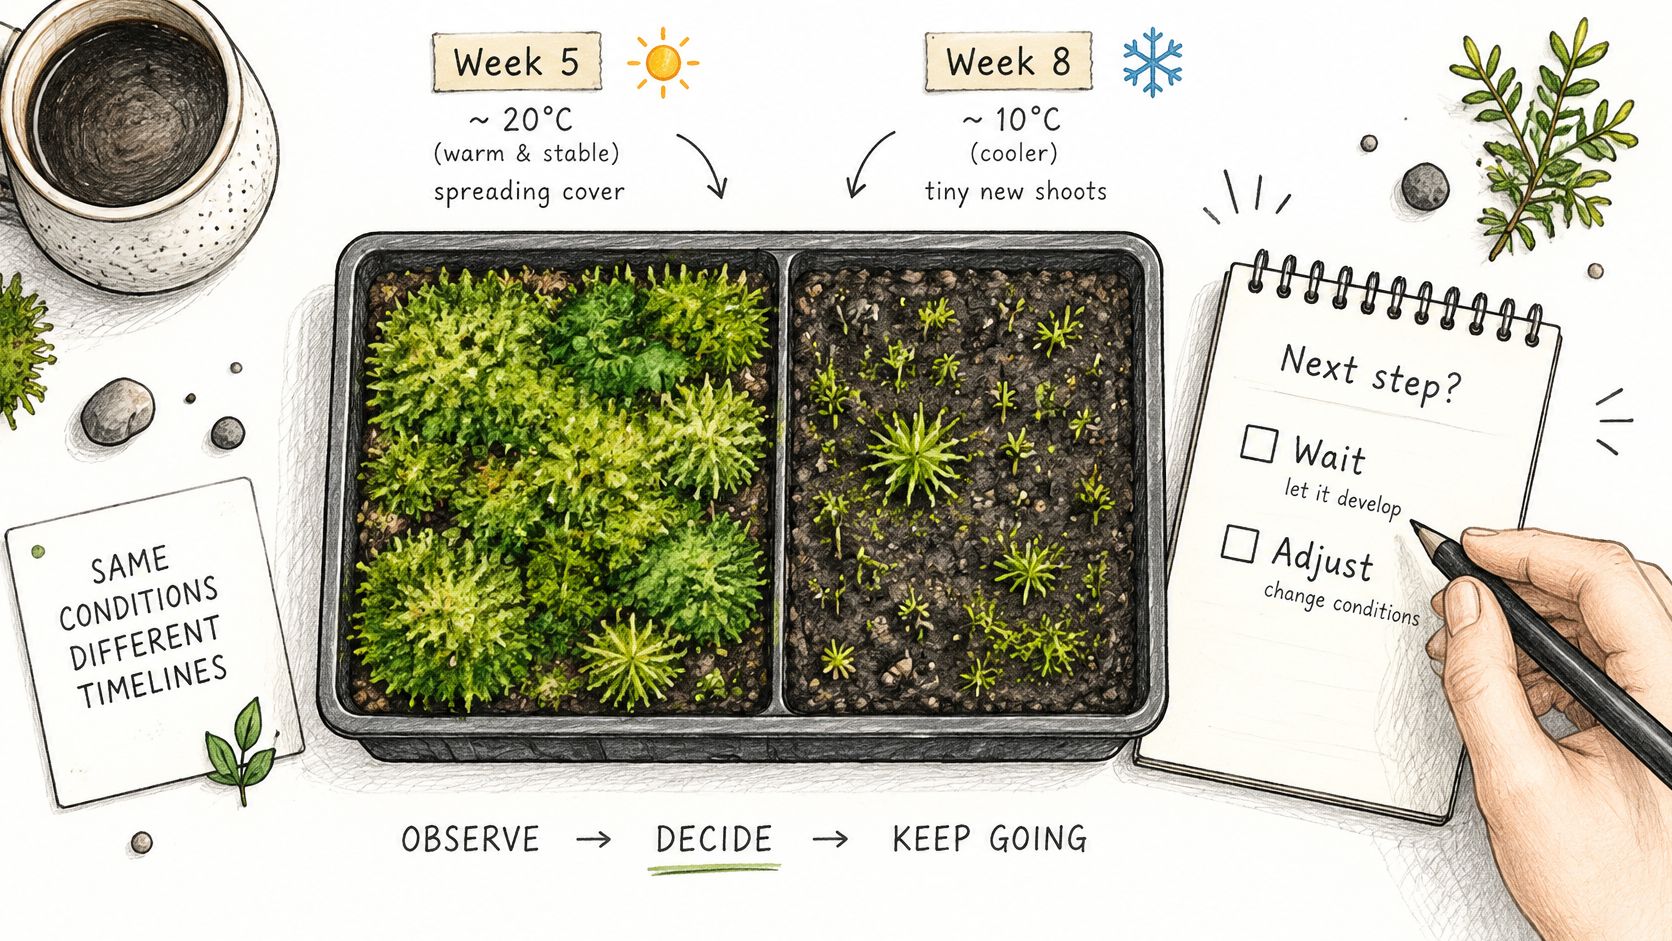
Keep, tweak, or restart the plan
- Keep going when edges are advancing, shoots are developing, and the moss remains in contact with the surface. Resist making a successful routine more complicated.
- Tweak the gaps when established areas look healthy but coverage is uneven. Add fragments selectively and correct localized moisture problems.
- Restart the plan when nothing attaches or the environment clearly doesn't suit the material. You may be able to retain healthy moss while changing its surface or container.
Take photographs from the same angle at regular intervals. Include a fixed feature, such as a stone edge, so you can recognize sideways expansion without relying on memory.
For an additional visual reference, watch the video below.
For your next container, reproduce the combination that worked: the moss, surface, starting method, and moisture routine. Scale up a successful test patch rather than starting a larger build with unfamiliar material.
Moss Keeping offers practical guides to growing moss and building home terrariums, including help with species selection, planting, and moisture care. Visit Moss Keeping to match your next container to the moss you want to grow, then start with a small patch you can monitor before expanding the build.